Our office is regularly striving to ensure that our practices are up to date. This includes the increased demand for electronic communication, including sensitive information. Implementing secure email allows Pysnik Financial to expedite communications with our clients and companies, while keeping your information as secure as possible.
Below is a step-by-step guide of how to set up your free Proofpoint Secure Email account for the first time so that you may view secure emails from our office, and be able to safely respond with confidential information as well.
All subsequent secure emails will be much easier and quicker; setup is a one-time process.
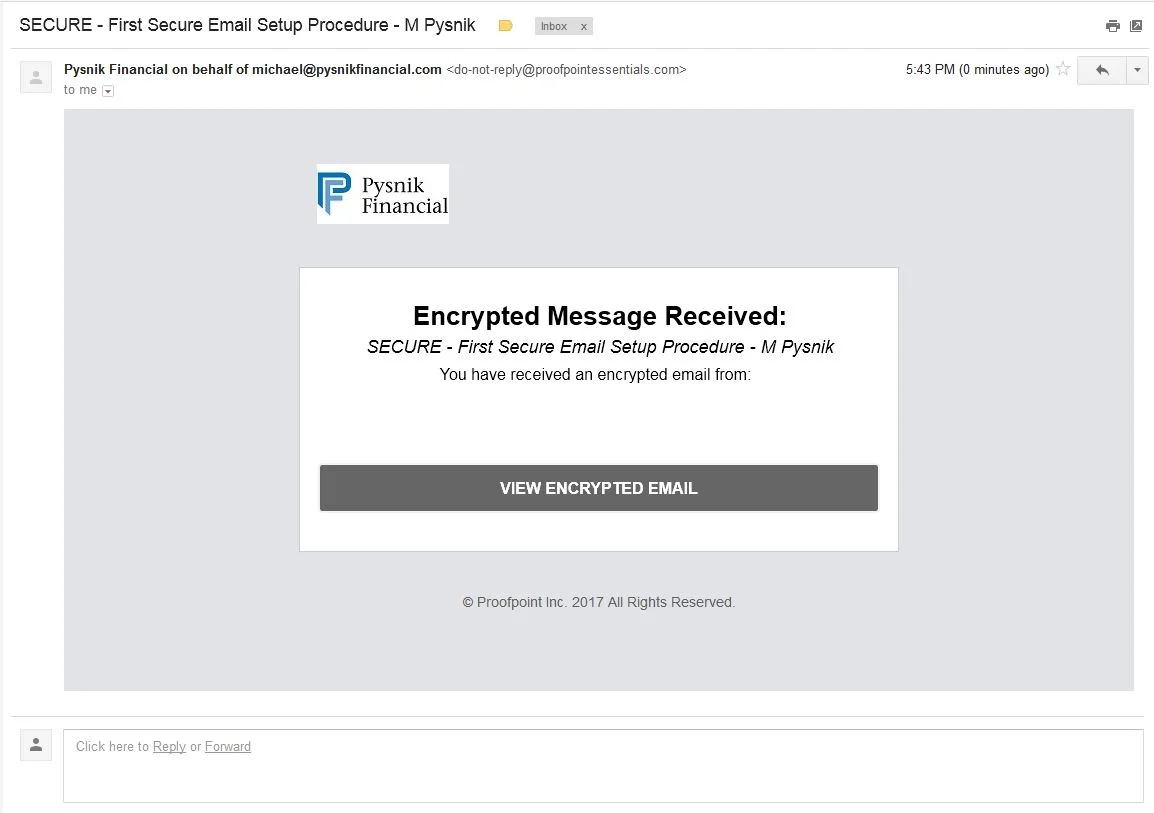
Below is what the email you will receive from Pysnik Financial will look like.
Step 1: Click on the large gray button that says "View Encrypted Email" to set up your account and view the secure message.
Do not reply to our message from this part of the email - this is not the secure email area.
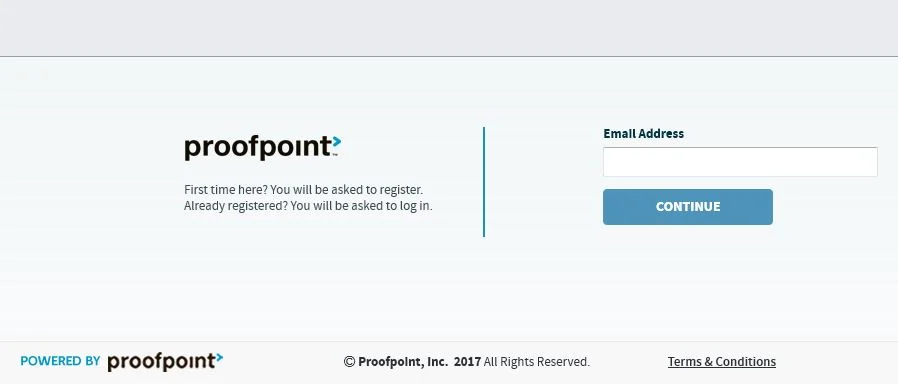
Step 2: You will be brought to a page to enter your email address. Enter the email address that we sent the secure email to and click the 'Continue' button.
Step 3: Enter your First Name, Last Name, create a Password, and check that box that says you agree to Proofpoint's Terms of Service. Then click the 'Register' button.
Passwords must contain at least eight characters, and must contain three out of the four following characteristics: uppercase letters, lowercase letters, numbers, or special characters.
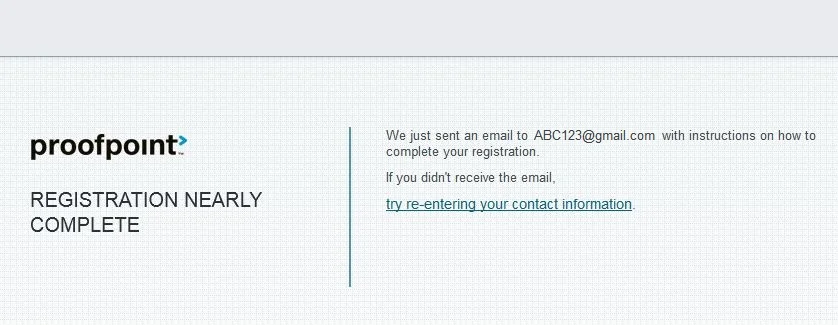
Step 4: You will be taken to a web page that lets you know that your registration is nearly complete.
At this point, go back to your email account that we sent the secure email to and the same one that you entered when you created your Proofpoint account.
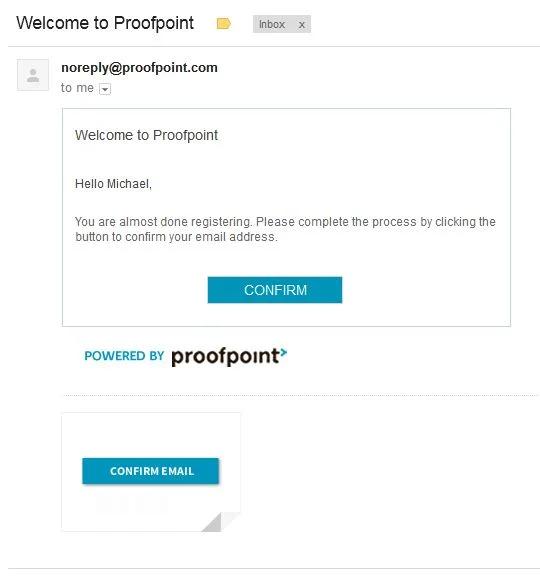
Step 5: Open the email from "noreply@proofpoint.com" titled "Welcome to Proofpoint" and click on the blue button that just says 'CONFIRM' above the 'Powered by Proofpoint' logo and not the image that may be below that says 'CONFIRM EMAIL.'
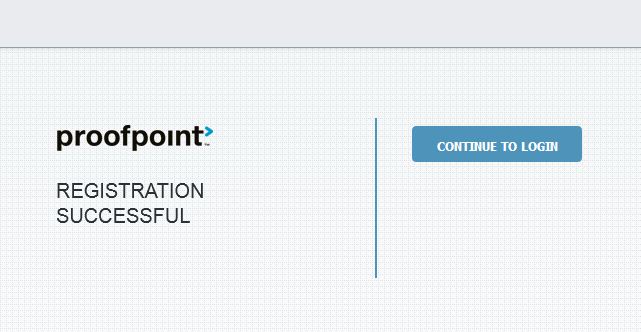
Step 6: Clicking on the 'CONFIRM' button in your email from Proofpoint will take you to the web page below.
Now click on the 'Continue to Login' button.
Step 7: Enter your email we sent the secure email to, the same one you used to set up your Proofpoint account, and click the 'Continue' button.
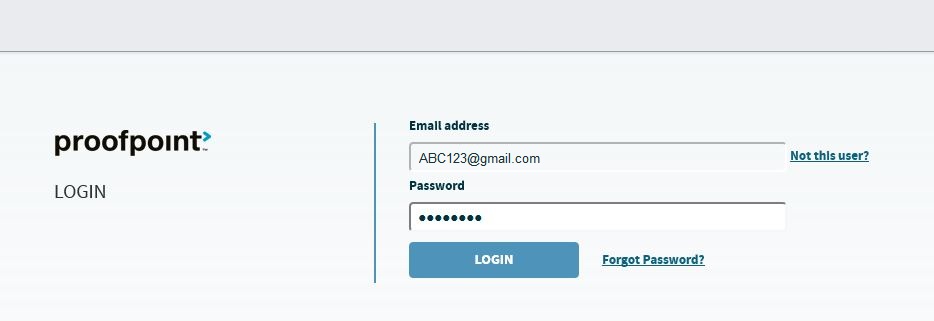
Step 8: You will be brought to the Login page where you enter the password you created in Step 3.
Next click the 'Login' button to take you to the secure email we sent you.
Step 9: You can now view your secure email from Pysnik Financial.
To download any secure documents, click on the 'down arrow pointing to the line' icon on the right hand side of the blue box that has the file name, next to the paperclip, at the bottom of the email message.
Note: Messages and documents are only available for 15 days on the Proofpoint servers. Please save any information and/or documents you need to keep for your records in a safe place on your own computer.
Step 10: To respond securely, use the arrow or double arrows ('Reply All') near the upper right of the message to send confidential information in the body of the email.
To attach confidential documents to be sent back to our office, drag and drop files from your computer to the dotted-line box titled 'Drop files here to upload' at the bottom of your response message.
When you are satisfied with your response to Pysnik Financial click the 'Send' button in the upper right corner of your secure reply message.
The safety of your private information is something we take seriously and work hard to protect. Thank you for taking the time to set up your account. Remember, that was a one-time process.
Frequently Asked Questions
+ What is the Encryption Portal?
The Encryption Portal is a browser-based application that allows for secure, encrypted communication between you and the sender of the message. When you receive a message in your inbox that includes a View Encrypted Email link, that link launches a browser so that you can view the decrypted message and any attachments included with the message. The message and its attachments have been scanned for malware and compliance, and then encrypted before being sent to you.
+ Why do I have to register with the Encryption Portal?
The first time you click the View Encrypted Email link, you will be prompted to register (create an account) for the Encryption Portal. You only need to create the account once, and in the future, you will need to use your login credentials to read messages in the Encryption Portal interface.
Your password must contain at least eight characters, and must contain three out of the four following characteristics: uppercase letters, lowercase letters, numbers, or special characters.
+ How do I use the Encryption Portal?
Iconography
- The left pane displays messages grouped by thread. Each message thread displays the number of messages in the thread, like this: latest sender (N), where N represents the number of messages in the thread.
- The timestamp is for the last message added to the thread.
- The subject of the thread.
- The paper clip icon indicates an attachment is included with the message.
- The down-arrow icon moves the selected message from the Active to the Archive view.
- Select the message thread in the left pane to view all of the messages in the thread in the right pane.
Active and Archive Views
- Messages in the Encryption Portal are organized into two categories - Active and Archive. Toggle between these two views to see a list of the messages in each category.
- The Active view contains messages that have not expired and that are still of interest to you.
- The Archive view contains messages that have not expired but are no longer of interest to you (it is like deleting a message, but the message is still in the portal until it expires).
- A message in the Archive view will move back to the Active view if anyone included in the message thread replies to the message.
Reply and Reply All
- You can only reply to the original sender of the message thread (Reply) or reply to all recipients in the message thread, including the original sender (Reply All). The Reply link displays only if the current message is from the original sender.
- The Private label displays when the message thread is only between you and the original sender of the message.
- When you Reply or Reply All, you can add text and upload new attachments to a message in the Encryption Portal.
Forwarding Messages
- You cannot forward a message in the Encryption Portal.
Searching and Sorting
- You can search for a message by entering a key word into the Search input field and pressing the Enter key.
- You can sort messages in either Active or Archive views by Recent Activity, Subject, Oldest Message Expiration, or Most Recent Sender.
View Options
- You can toggle between the All and Files view options.
- Files view - displays every attachment in the thread, grouped by message.
- All view - displays all of the messages in the thread and their attachments.
- Show Details icon next to the message timestamp - displays the message header details.
Message Expiration
- By default, messages expire after 15 days - they are permanently deleted from the Encryption Portal.
+ How do I download an attachment that I received?
Click or select the Download File icon next to the name of the attachment. If the message contains several attachments, you can download all of them at once by selecting the Download All Files icon. You will be prompted to save downloaded attachments to a location on your computer.
+ How do I upload an attachment in a reply?
To add an attachment, drag it from the filesystem on your computer to the space in the message in the Encryption Portal that is labelled Drop files here to upload. Or, you can simply click in that space to open your filesystem and select a file.
+ Can I add recipients to a message in the Encryption Portal?
No - you can only use Reply or Reply All.
+ What does Archive mean?
Archive is like delete in that it moves a message out of your list of active messages. However, if someone on the thread of the archived message replies to it, the message will be moved back to your list of active messages, as long as it has not expired.
+ Can I extend the expiration of a message in the Encryption Portal message?
No - Messages in the Encryption Portal will automatically expire 15 days after they were sent to you.
+ How large of a file can I attach to a message in the Encryption Portal?
The maximum size cannot exceed 25 MB - it is the sum of the size of a message and its attachments. The maximum number of attachments per message is 50.
+ I uploaded a file, but I received a notification telling me the message is blocked. What happened?
Your file was blocked. It may have contained a virus.
+ Which browsers are supported?
The supported browsers use a rapid release schedule and rapid version number increments. As new versions of these browsers are released, Proofpoint will make best efforts to support them. For security reasons, Proofpoint highly recommends that you use the latest version of your browser choice.
- Internet Explorer - Note: Ensure that Adobe Flash Player is installed and enabled. This Add-on is required for a progress indicator to display during file uploads.
- Firefox
- Chrome
- Safari
+ Which languages are supported?
At the moment the Encryption Portal is only offered in English.
